
Support Center.
Get Started or Become a Pro. Browse our support articles to learn how to get the best out of PeopleGoal.
Create an Item
An item is an instance of an app in PeopleGoal. An individual goal would be an example of an item created in the Goals app. The item will be owned by specific participants as it moves through the workflow states.
Most of the time people will refer to an item by the app name (you'd create a new Goal for yourself, not a new Goal Item), but it's useful for you to know that it's called an item on the back-end - especially when it comes to creating reports.
Jump straight to:
Create an Item for Yourself
- Open up the app you want to work with and you'll land on the app details view.
- Click New item, then select yourself in the Item owner field. The owner is the first participant in the app worfklow.
- Your item will need a name, which will help you differentiate this item from other items you own in the same app. For example, we might called this item "2021 Annual Performance Review - Jane Smith".
- Click Create item and your workflow will generate using the app template!
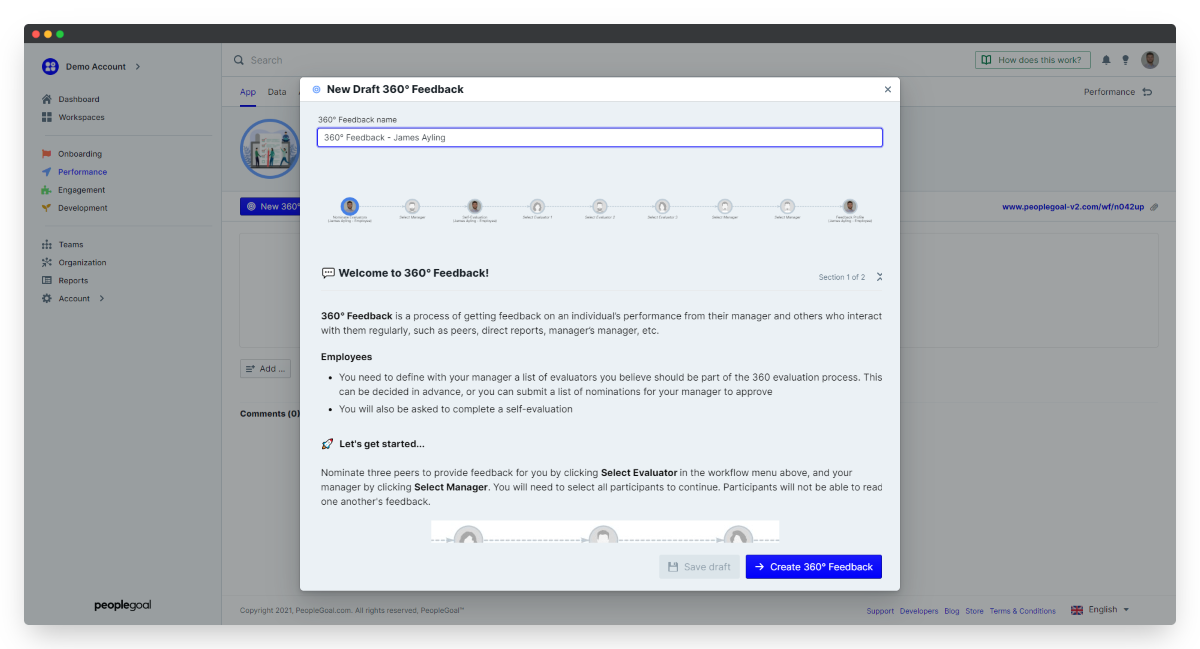
It's not required but it is a good idea to include your own name in the item title. It will help reinforce who the overall "owner" is as the item moves through the workflow states - like when you send this Annual Performance Review to your manager to complete their assessment, it's immediately clear that the review is about you.
Define item participants
If the app owner has predefined the app state participants then these participants will be prefilled, and you can see them on the workflow view at the top of the item.
If the participant hasn't been prefilled you'll need to select who the next participant is.
- Click the state participant placeholder icon, then click Select user.
- Choose your participant from the account user list, then click Set participant.
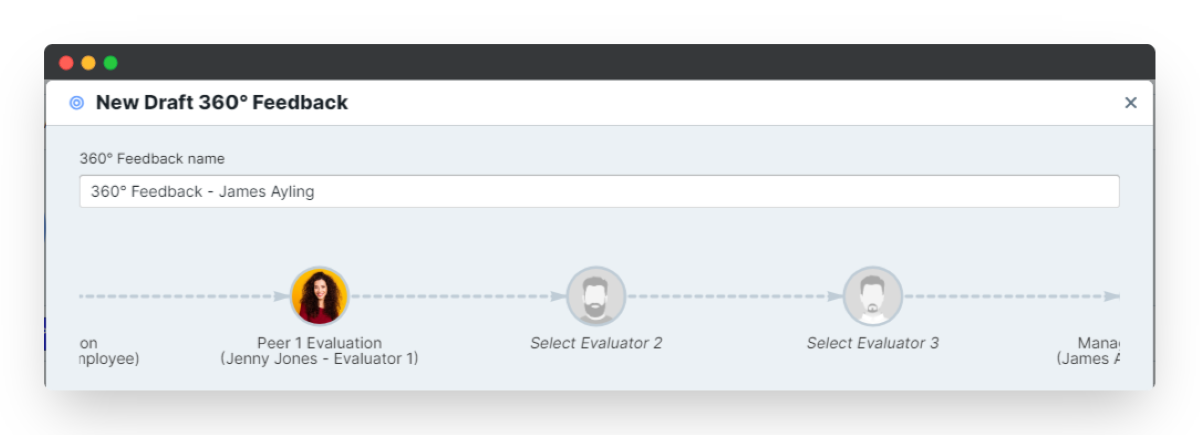
Note that participants all have a title! That's to make it easier to understand what their part in the workflow is. For a Goals app, the participants would be the "Goal owner" (you), and the "Goal approver" (your manager).
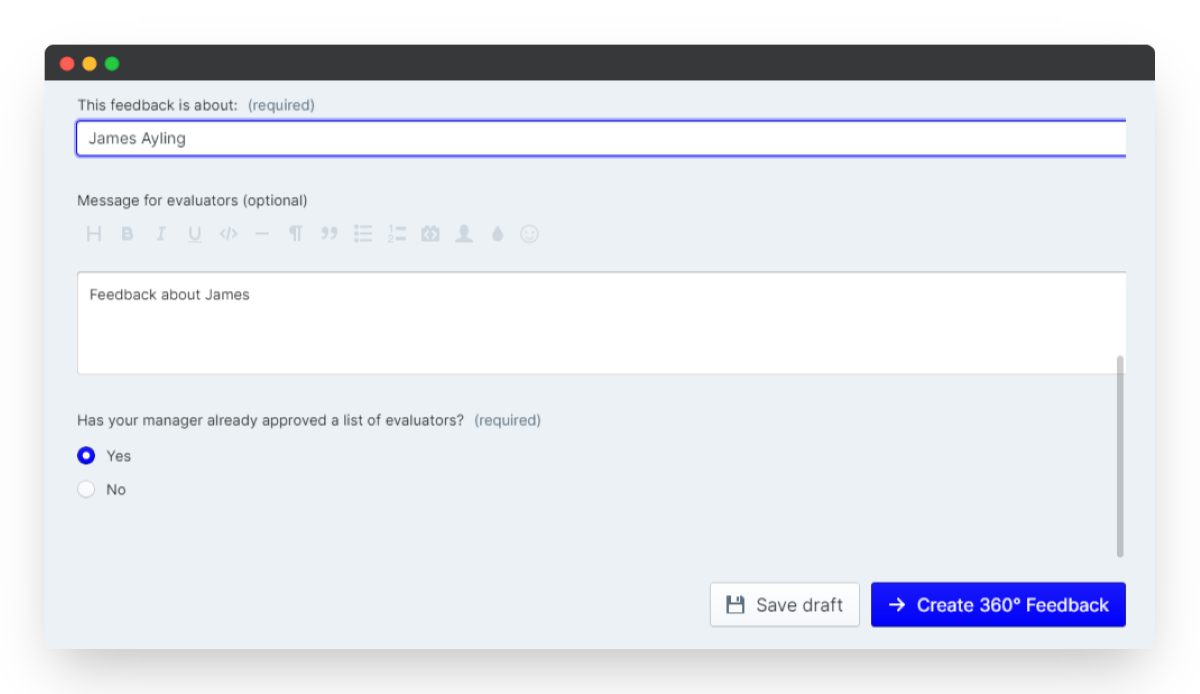
Fill out the item details
This item is now in its first state - well done! As the state owner, you'll need to fill out all the required fields.
- Once you start to enter your responses you'll see a blue banner appear that says "Please note! You have unsaved changes".
- Click Save changes now to save your draft.
- You can return to draft items at any time. Click on the Return button in the top right to exit to your App details. You'll see your item sitting in the You tab, and you can click the item name to open up your draft and continue your responses.
- When you're ready, click Submit to next state. We'll run a validation check to ensure all required fields are filled out, and any errors will appear with a red banner for you to correct.
Once you've submitted your item it's sent on to the next participant to complete.
Create an Item for Someone Else
Users with the appropriate app permission can create items for other account users. Head back to the App page and click New item, the same as you would when creating an item for yourself.
Create an item for individual users
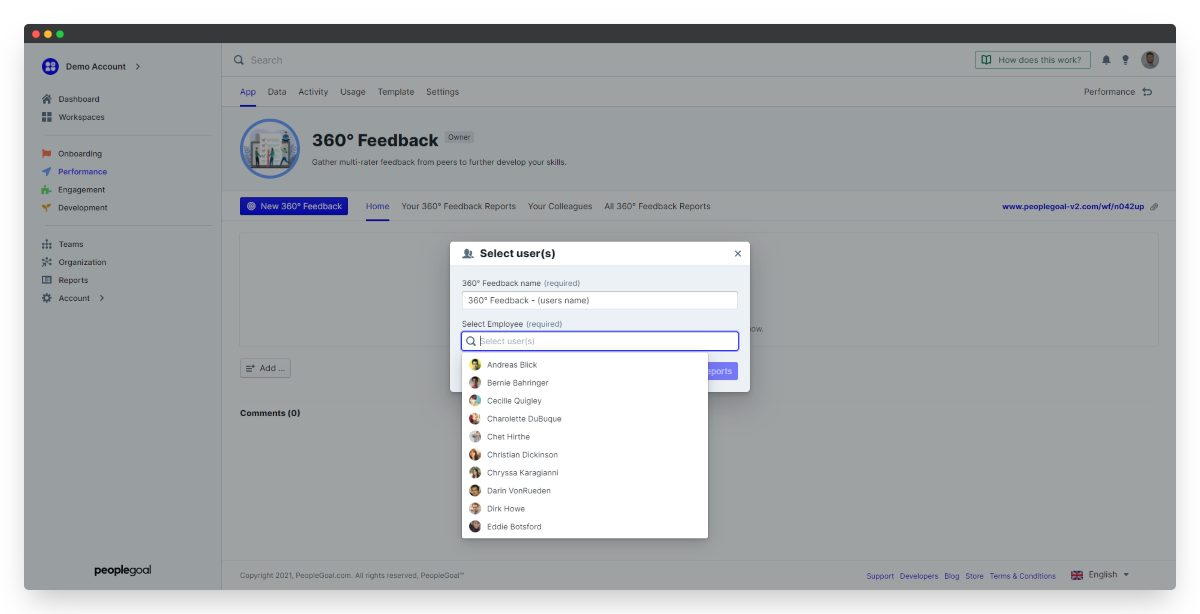
- Instead of selecting yourself, choose Select users.
- You'll have a prefilled title that includes a placeholder for the selected username. We'd recommend you leave this as is, and allow the item owner to change the title if needed.
- In the Select item owner field, type in the individual name(s) to select other account users. Then click Create item and you're done!
The selected individuals will receive a notification that an item has been created for them, and they can click straight through to complete the first state.
Note that this will create a unique item per user - every state has just one participant! This will not create a "group item" or create multiple state participants.
Create an item for teams
You can also create individual items for whole groups of users at once!
- Choose Select team(s) of users, then type in your team name.
- Click Create item and that's it - you've created an item for every individual in the selected team.
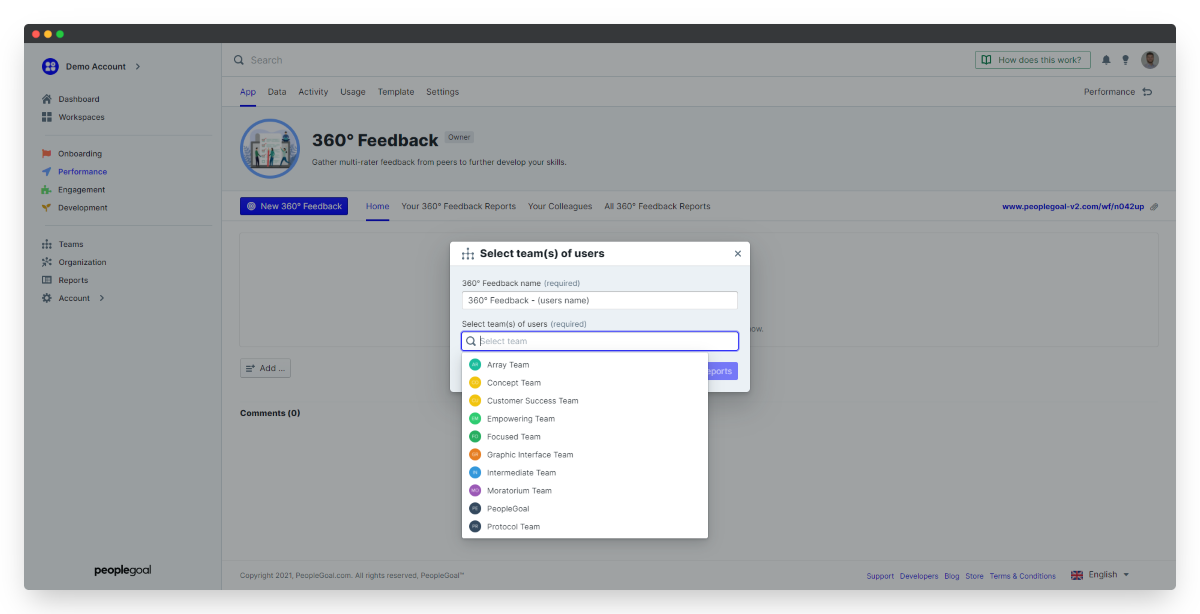
This function makes it super easy for HR to quickly kick off a review process for the whole account, or for department heads to send out a feedback survey to their own team members.
View Items
Once your items are underway you'll want to view their progress and find items that you're a participant in.
Every time an item is moved to a state where you are the participant, you'll get a notification with a direct link to the item.
But you may also want to check up on the items of your direct reports, or see all items as an app owner.
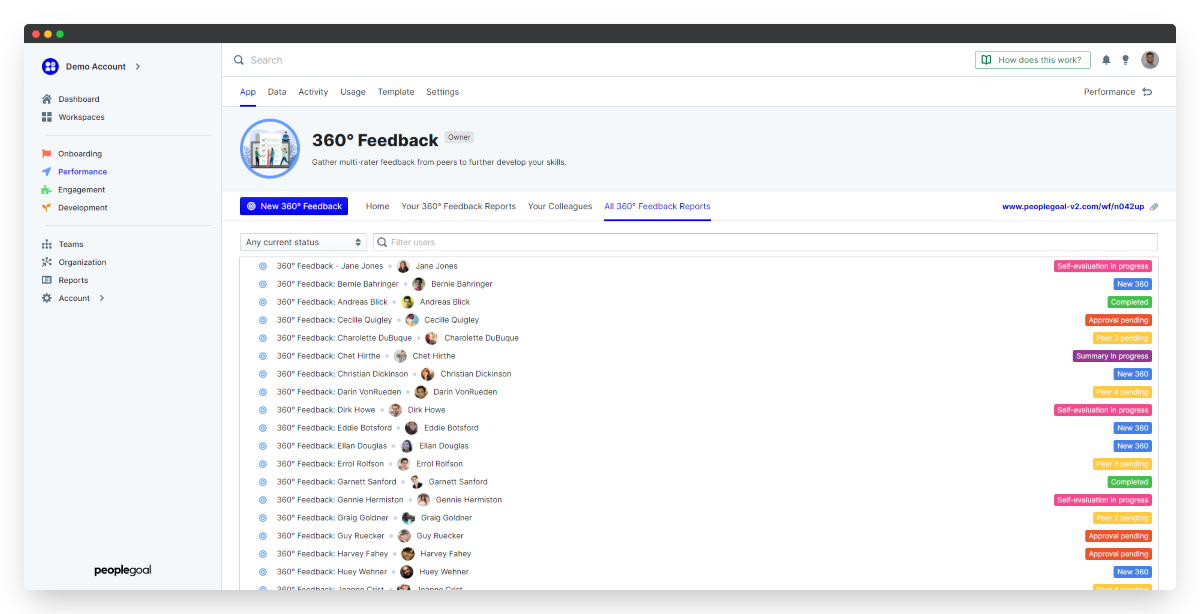
Go back to your app page and you'll see item views are grouped in folders running down the left of the app. These folders are:
- You: your own items, e.g. personal OKRs you've created for yourself
- Your Colleagues: any items you're participating in, e.g. if you're providing a manager's assessment for a direct report's review. Colleagues are grouped by relationship types.
- Your Teams: items grouped by the teams in which you're a member. Note that even though you can see all teammates' names in this view, if you don't have specific permission to view their items then nothing will display under their name.
- All Items: all items in the app. The visibility you have here will depend on your app permissions. Owners or those with any of the "View" permissions will see all items. Managers who have Relationship permissions will see their own items and their direct reports', and users with "Create only" permission will only see their own items.
Clicking on these folders will open up the item list view, and you can click the arrows to expand more details.
Click the item title to open the full item view - if you have permission to access the item in this state.
Now that you've got your apps set up and you're starting to fill the app with data, you're going to want a way to analyze and track that data. We'll take you through the reporting basics next, and you can check out the Become a Pro section for the full details of creating custom reports and charts.


PeopleGoal Support Team
Account Management & Implementation Specialists


