Support Center.
Get Started or Become a Pro. Browse our support articles to learn how to get the best out of PeopleGoal.
Quick Start Guide for All Users
This one-pager contains all you need to know to get up and running with your new PeopleGoal account. The guide is suitable for all employees and team leads to help you understand the key areas of your PeopleGoal account, and how to create and manage your items.
Scroll down to follow the guide in sequence, or jump straight to:
Key Terminology
These are some of the key terms everybody will come across when using PeopleGoal.
- Apps are your processes / workflows - the core functionality of your account. In Performance Management for example, you'll have individual apps for reviews, one-to-one meetings, 360 feedback and OKRs/SMART goals.
- Items are a form within an app created by a user. The performance review for employee Jane Smith is an item created in the Reviews app, or your Q1 objectives will be individual items created in the OKRs app.
- Workspaces are the containers for all of your apps. Think of it as the topic or category for all of the apps within a workspace, like Performance Management or Employee Engagement.
- States are stages in the app workflow, or steps in the process - like Create Goal, Approve Goal, Update Goal and Close Goal.
- A participant is the person who completes the item in a state. The current participant fills out the form in the current state, then sends it to the next state in the workflow.
Logging In
Every user has their own profile on PeopleGoal that is created using your email address. If you have more than one work email you'll only be able to log in with the email that is attached to your account - that will be the address where you receive your welcome invitation.
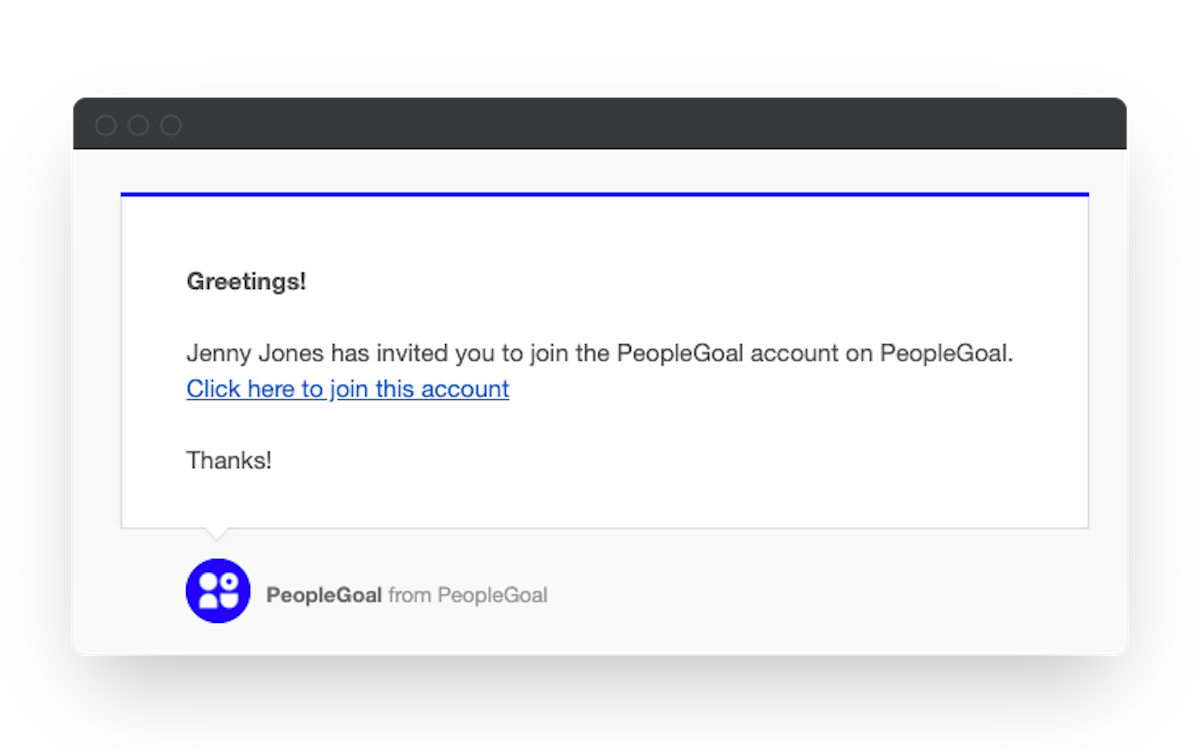
- You'll receive an email inviting you to join your account.
- Click the link in the email to set a password and log in for the first time.
- To log in in future, go to www.peoplegoal.com/sign-in and enter your email and password.
- Note for accounts with Single Sign-On enabled, you may be required to set a password the first time you log in. Every login after that will redirect you to your SSO portal and you won't be required to re-enter a password.
When you log in you'll be taken straight to your Dashboard.
Dashboard
The Dashboard is your homepage in PeopleGoal. It's the first page you see when you log in and it's the best place to go to get a summary of all your items in the account.
The Dashboard has tabs for different views, and all of your workspaces, apps and menus are in the lefthand navbar. Your user menu and notifications are in the top right corner.
1. Action List
The most important section is your Action List. These are all the tasks and actions you need to complete. Any time you become an item's current participant, that item will appear in your action list.

- Click Open to open the item and complete your section.
- Once you submit it to the next state, the item will automatically be marked as done.
- Or, click Mark as done to check the item off your action list.
- Sometimes items are also created for you - by your line manager, HR or another participant. Those will also appear in your action list and you'll receive a notification that you have a task you need to complete.
2. You
The You tab shows all of the items you own in every app. It's different from the Action list because it shows everything you own whether you're the current participant or not. So if you've created a goal and sent it to your manager for approval, the goal will be on their action list until it's sent back to you, and you can always find it in the You tab.
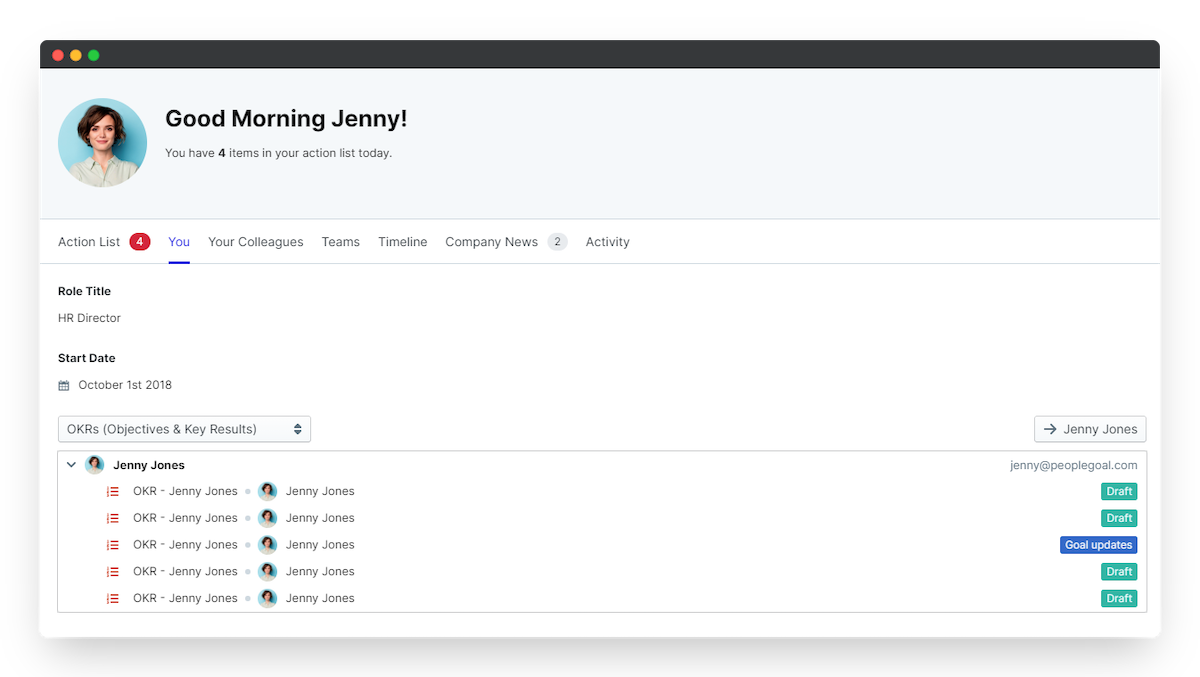
- Click an item name to open it and continue working on it.
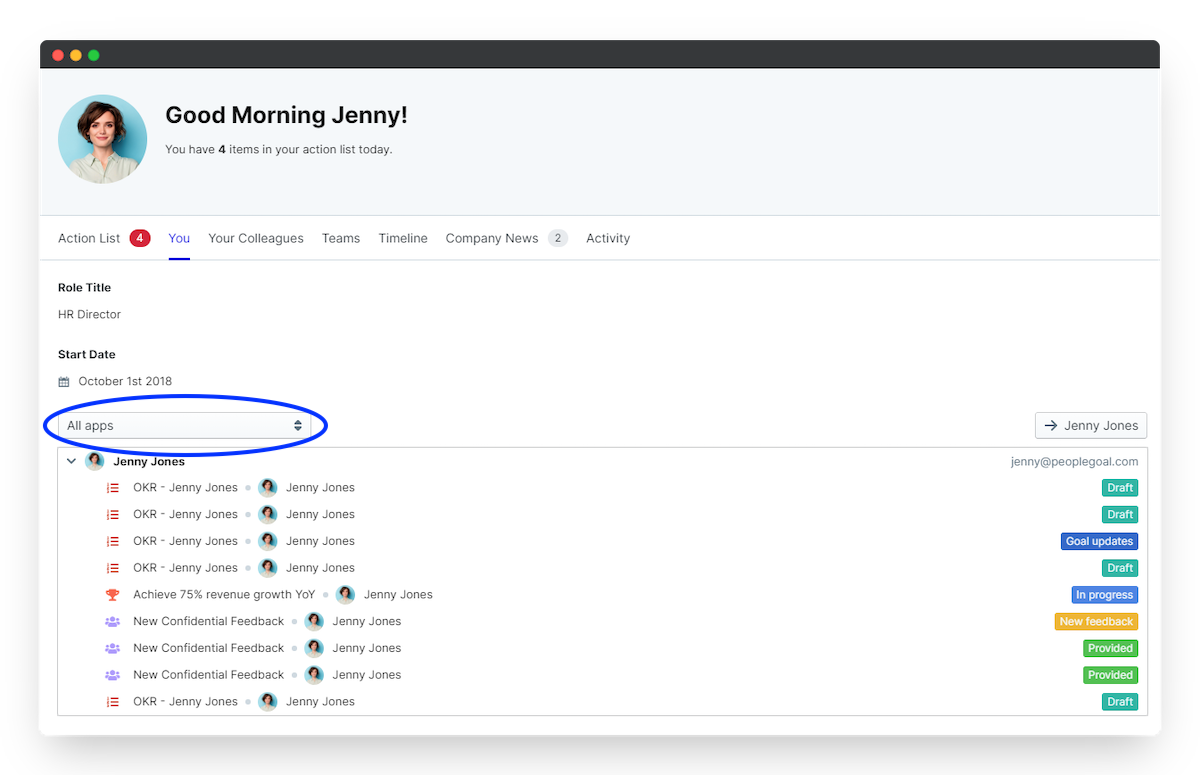
- Select the App filter to filter items by specific apps only, or to view all of your items in all apps.
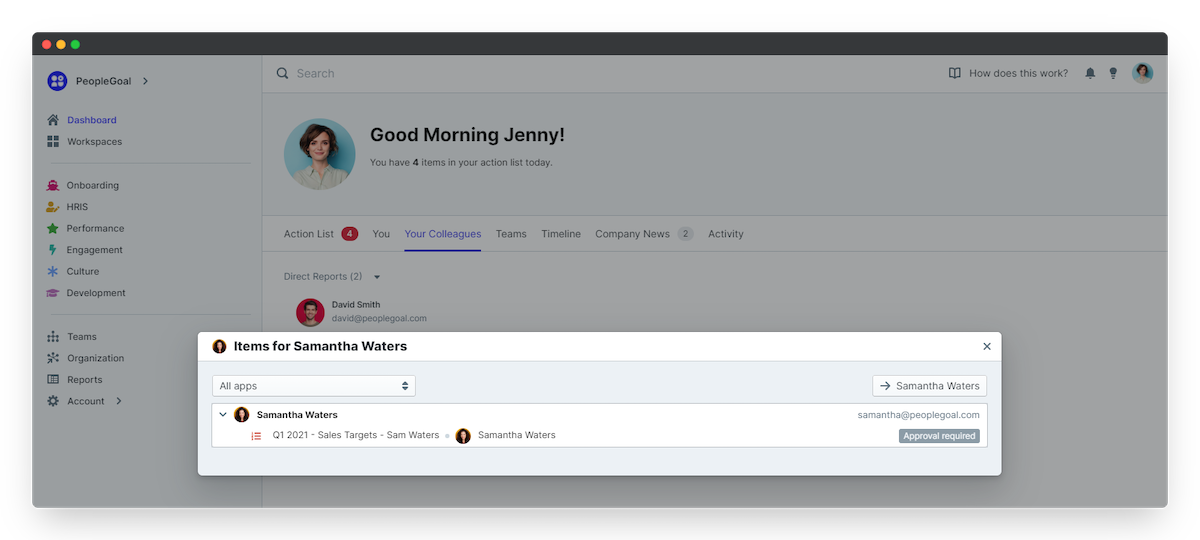
3. Your Colleagues
The Your Colleagues tab shows all the people you're connected to through the default Relationship - typically this is a line manager and your direct reports.
- Click a person's name to open their All Items view.
- Select the app filter to choose a specific apps or all apps in the account.
4. Company News
The News section shows a feed of all posts and schedules from your apps, workspaces and teams pages. They're quick links to important information.
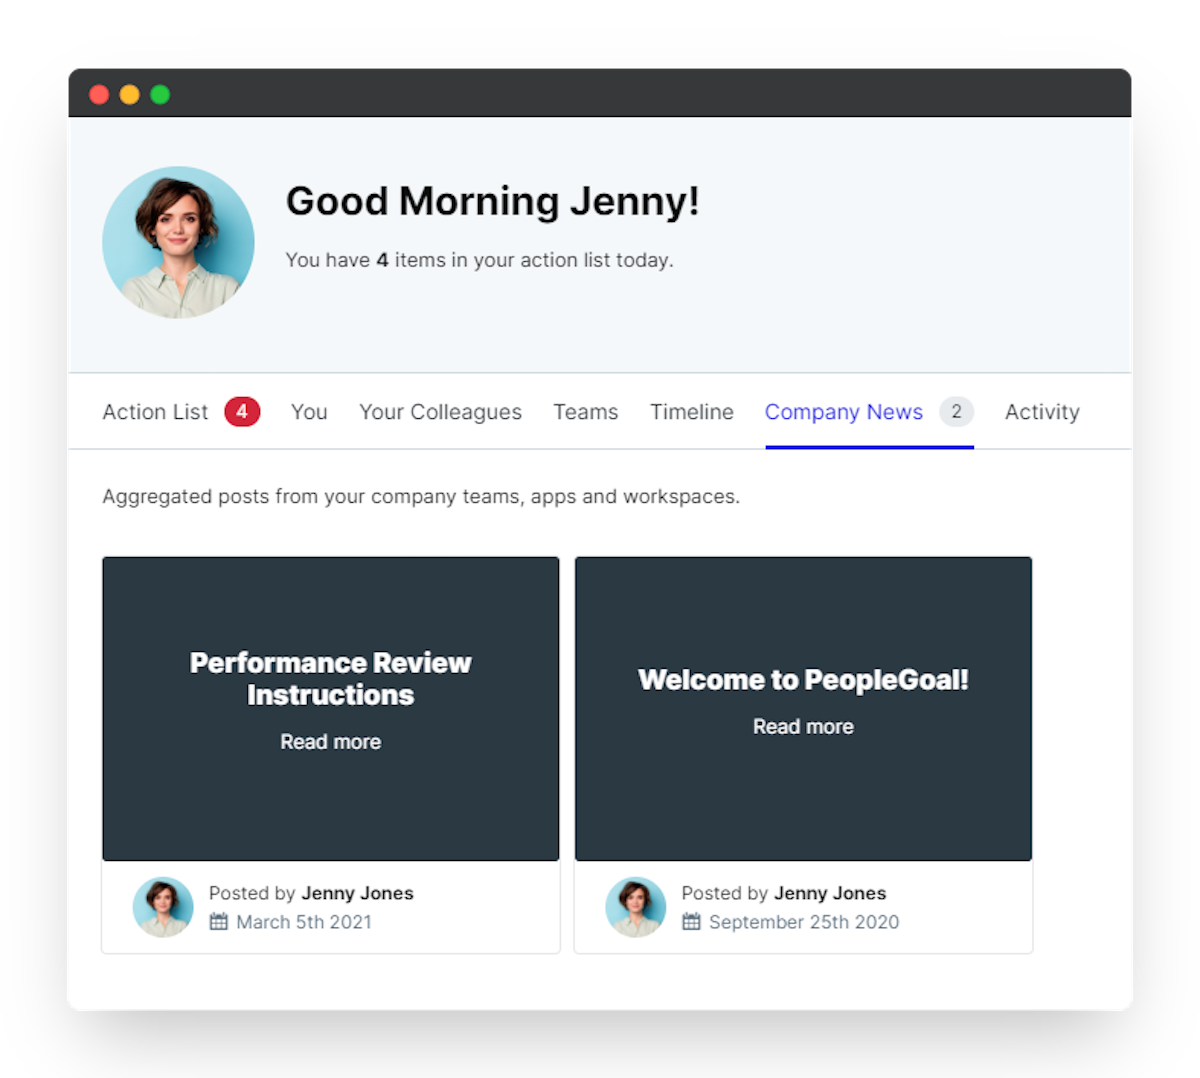
- Click on a post to read the details, then click View original to go straight to the app or workspace where it was posted.
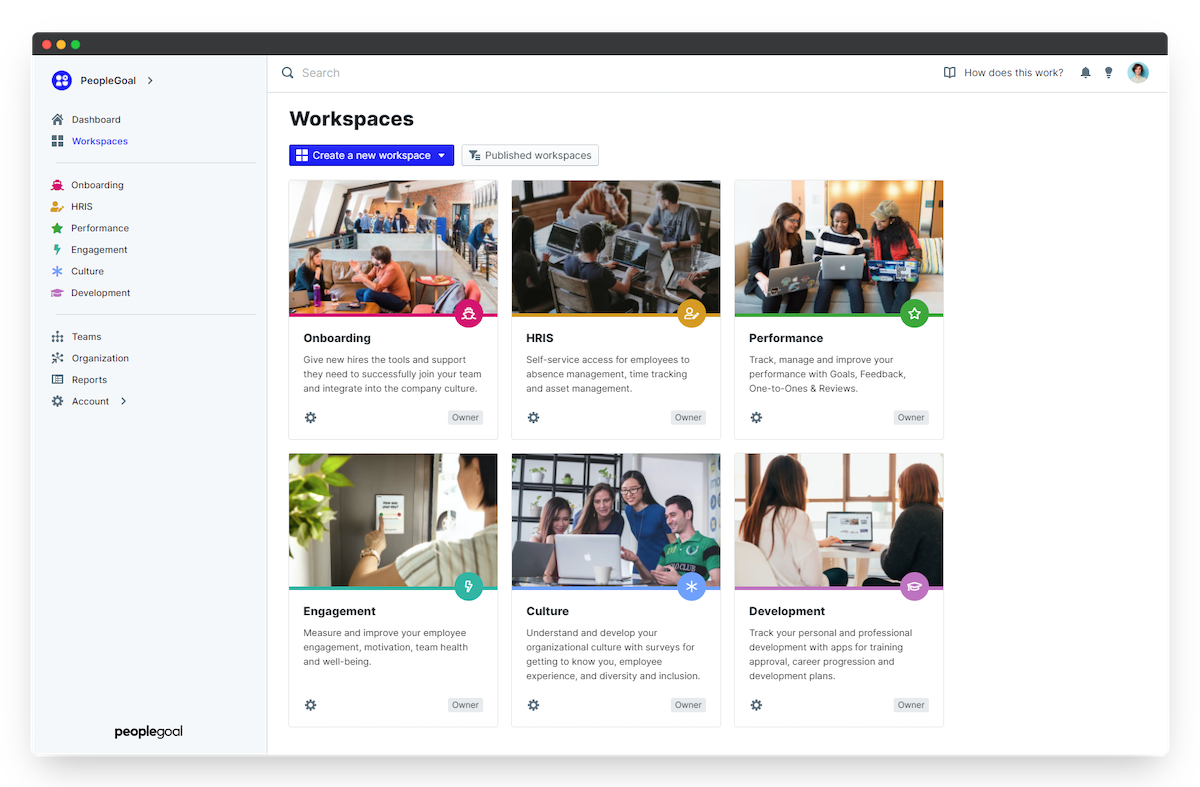
Workspaces
Workspaces are categories or themes for the HR processes that are installed on your account. Think of them as folders for groups of similar processes. For example, in the Onboarding workspace you'll find different apps for Onboarding Checklists, Pre-Onboarding Checks and New Joiner Surveys. Three different processes, all sharing the theme of Employee Onboarding. Click on a Workspace to open it and view the apps it contains.
Apps
Apps are the most important part of PeopleGoal! An App is a process or workflow - whether that process is Performance Reviews, Development Plans, Engagement Surveys or completely custom apps designed by your account owners.
The real secret of the app design is how the process moves through States (stages in the workflow), with each state belonging to one Participant. You might be a participant in many states within one app, or the only participant in the whole workflow! Every time the form moves to a state where you're the participant, you'll be notified that you have a task you need to complete.

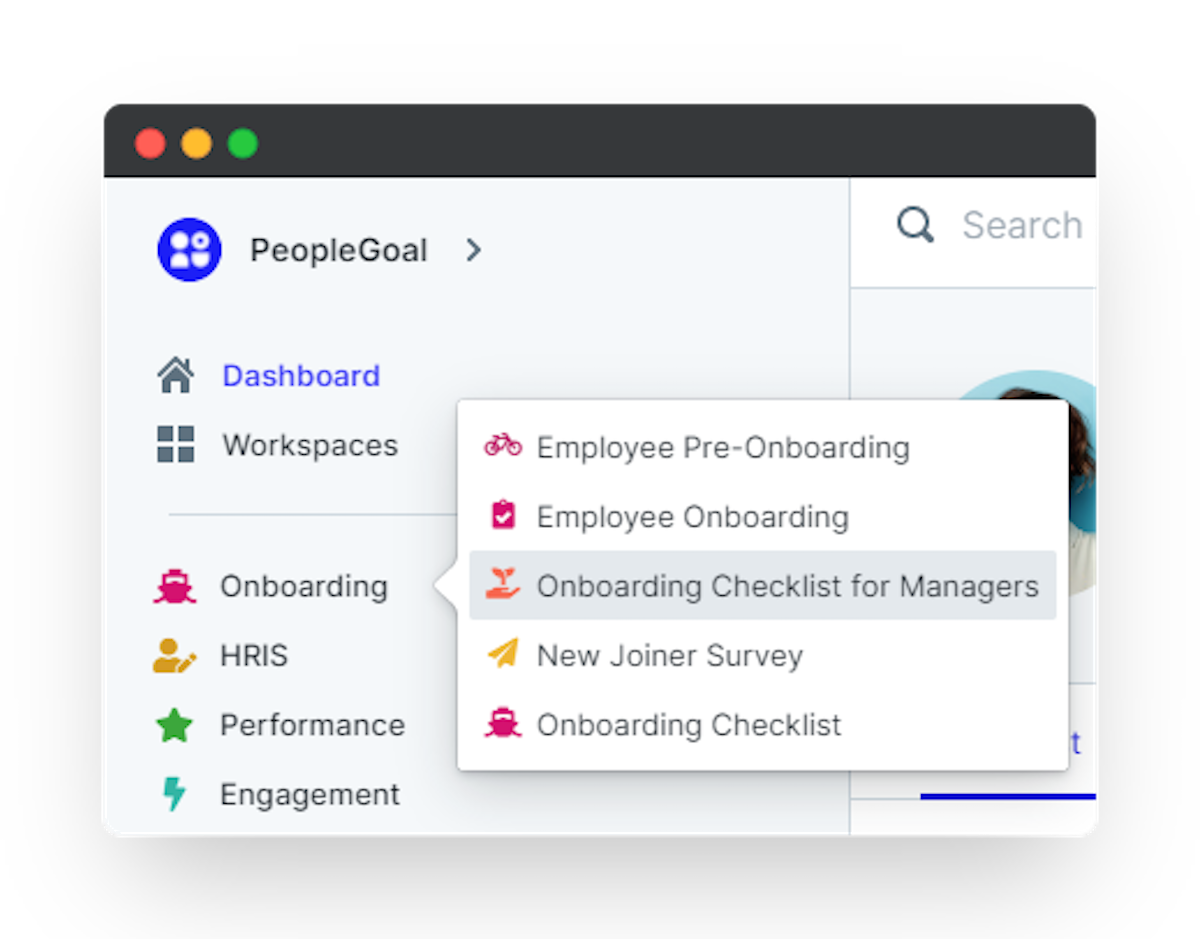
To explore your apps, open it up from the Workspace page or by hovering over the workspace in the lefthand menu and click an app name.
1. App Home
All of your apps are laid out in exactly the same way, so once you know how one app works you know them all! The Home tab shows posts and schedules set up by the app owners which are usually instructions and important deadlines in this process.
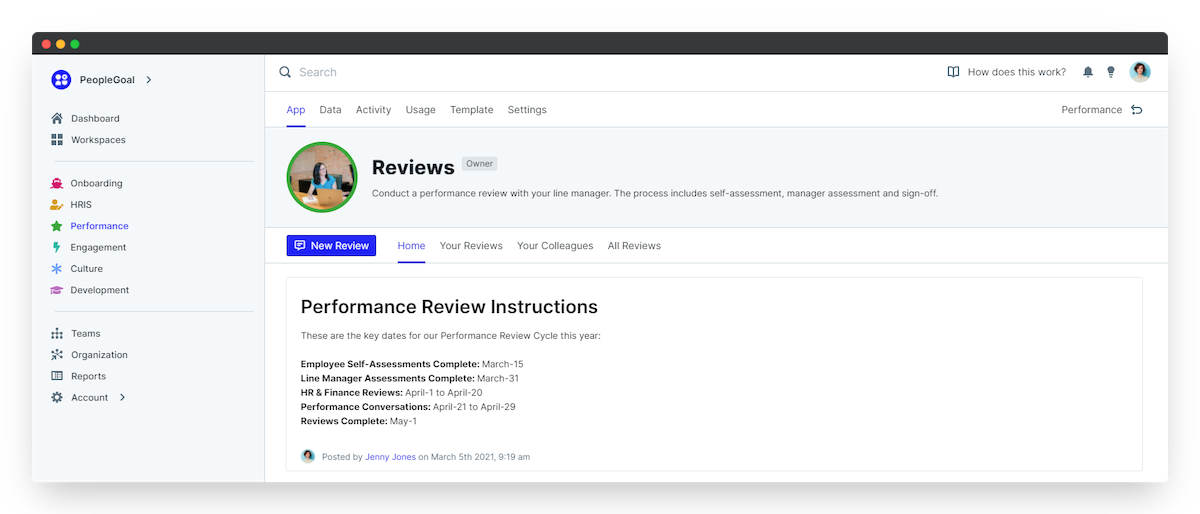
You can also Create Items from the homepage, which we'll cover in the next section.
2. Your Items
The Your Items tab shows all of the items in which you're the main participant. So if you're the Goal Owner you'll be able to see all of your goals here, in any state of the workflow.
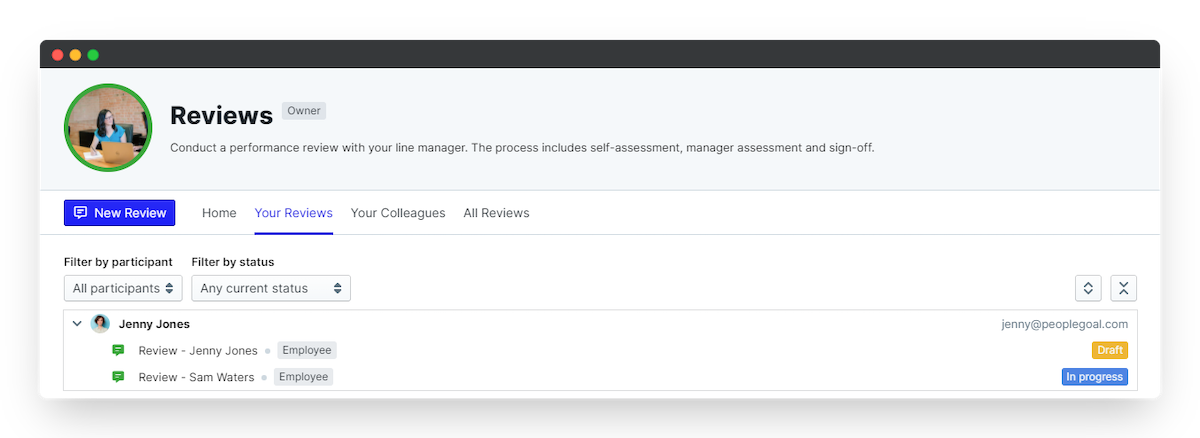
Note that sometimes you may have "limited visibility" of an item, and a message will pop up when you try to open it. This means the item is hidden from you in its current state and you'll only be able to view it when you're the participant once again.
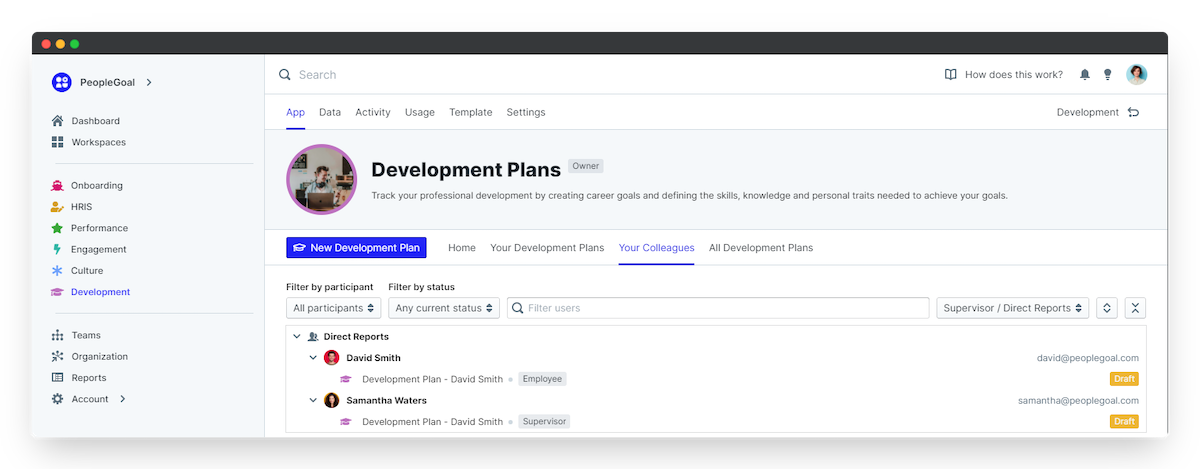
3. Your Colleagues
The Your Colleagues tab will show your default relationship counterparts - just like it does on the Dashboard. So for Supervisors you'll see your team members listed here.
- Click on a name to expand the view to all items they own.
4. All Items
And finally you have the All Items tab. This shows all the active items in the app that you have permission to see. So for app owners or those with "Create and view" permissions you'll see all items, and for team leads you'll see a full list of all items owned by your direct reports.
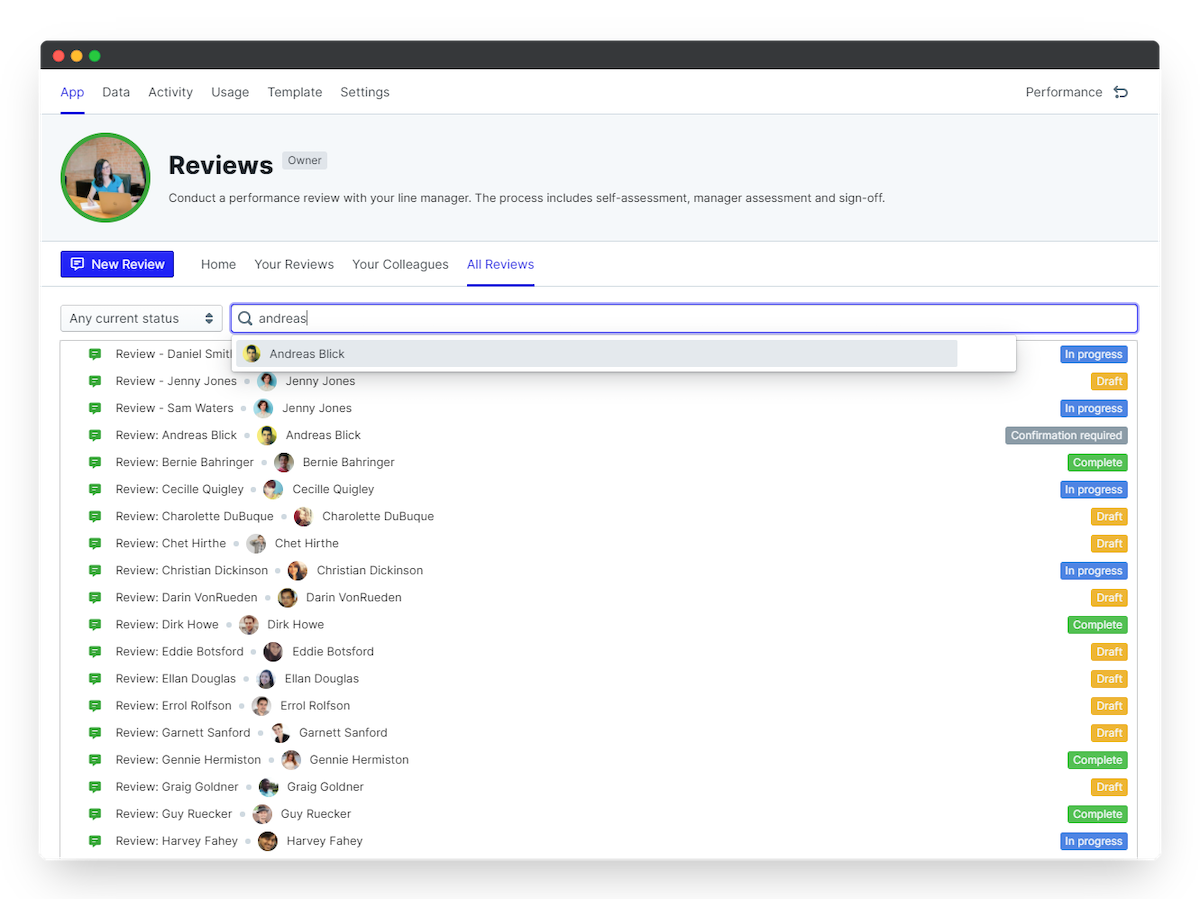
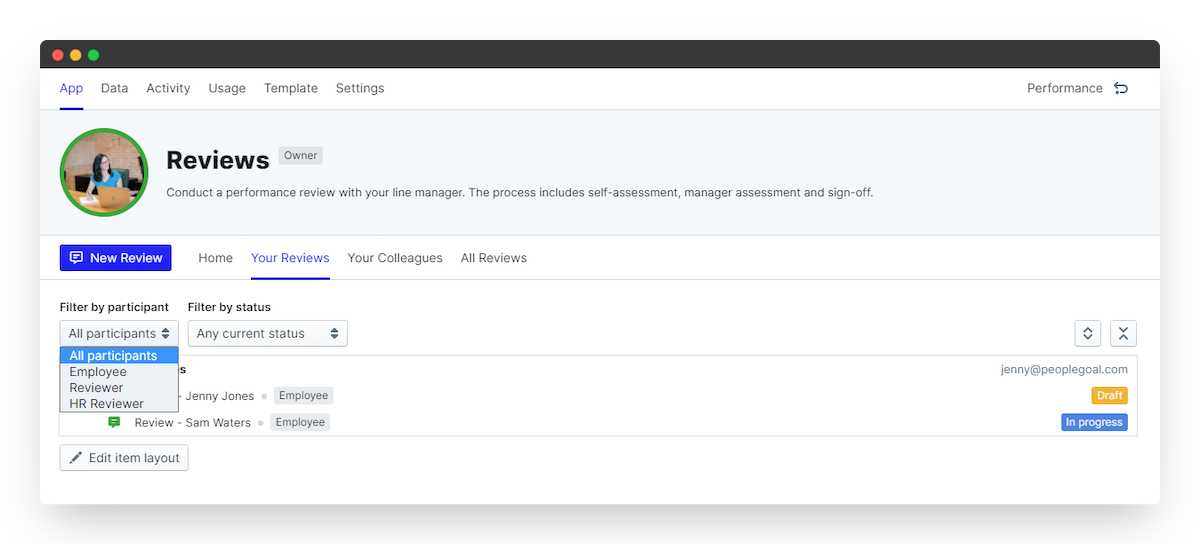
5. View Filters
On all of the views you can further filter the items in a few different ways.
The first is the Search filter. Click in this field to search by an item owner, for example to see all Reviews for one direct report.
Then you can select to view by Status. Click the "Any current status" drop-down and select another status flag, for example to only view Completed reviews.
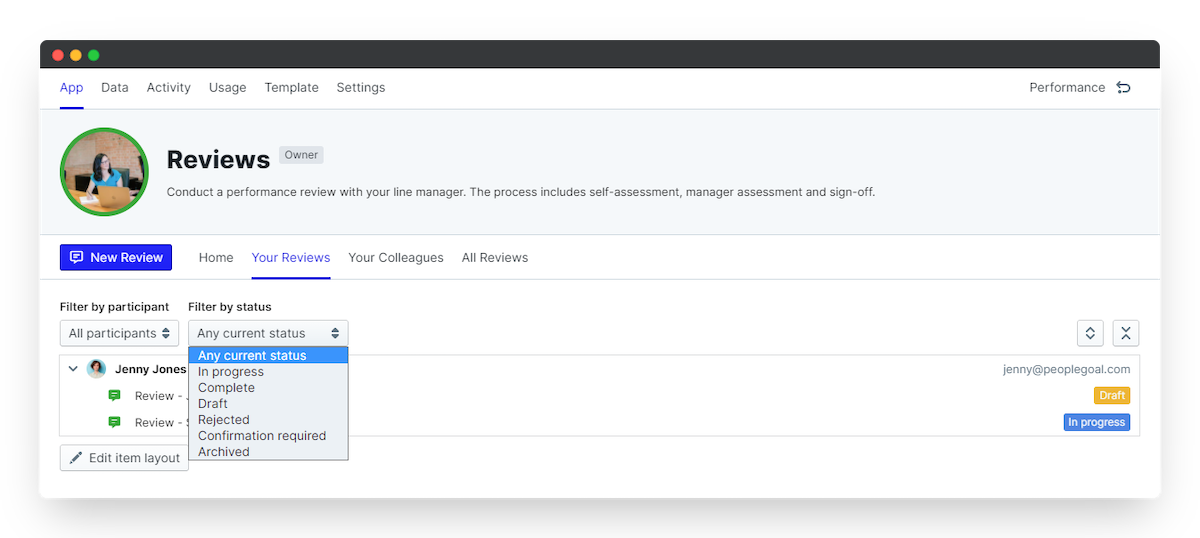
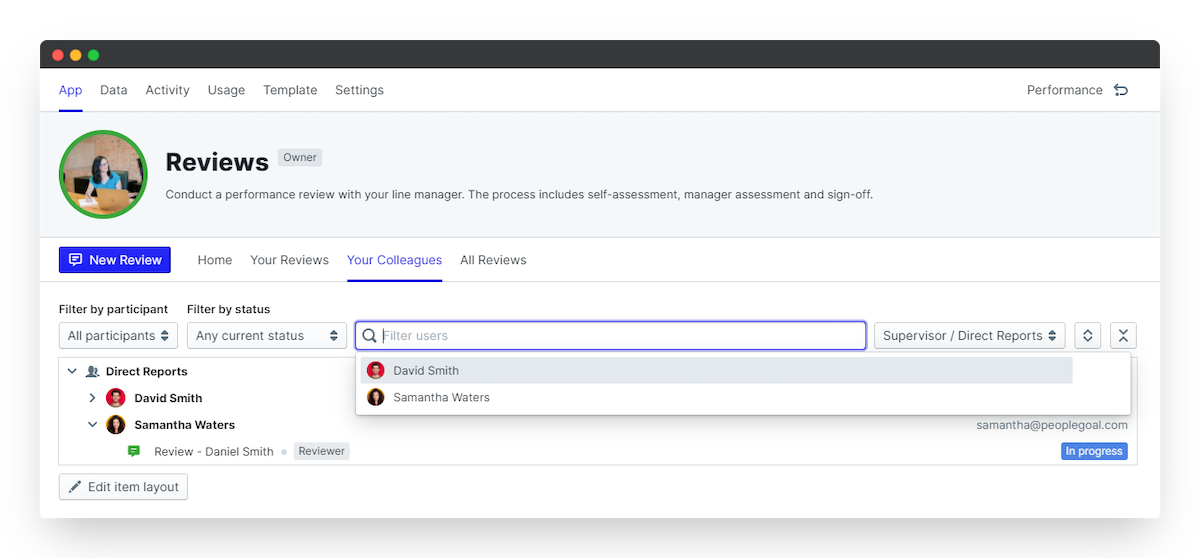
And finally you can view by participant - to show only items in which you or a colleague is one kind of participant. For example, if an app owner wants to view all reviews for one Supervisor, you can select the Supervisor participant here, then filter by one user.
Items
Items are the forms you create in each app, using the app template that's been designed and customized by your account owners. Your Quarterly OKRs are items created in the Objectives & Key Results app, or one of your vacation requests is an item in the Absence Management app.
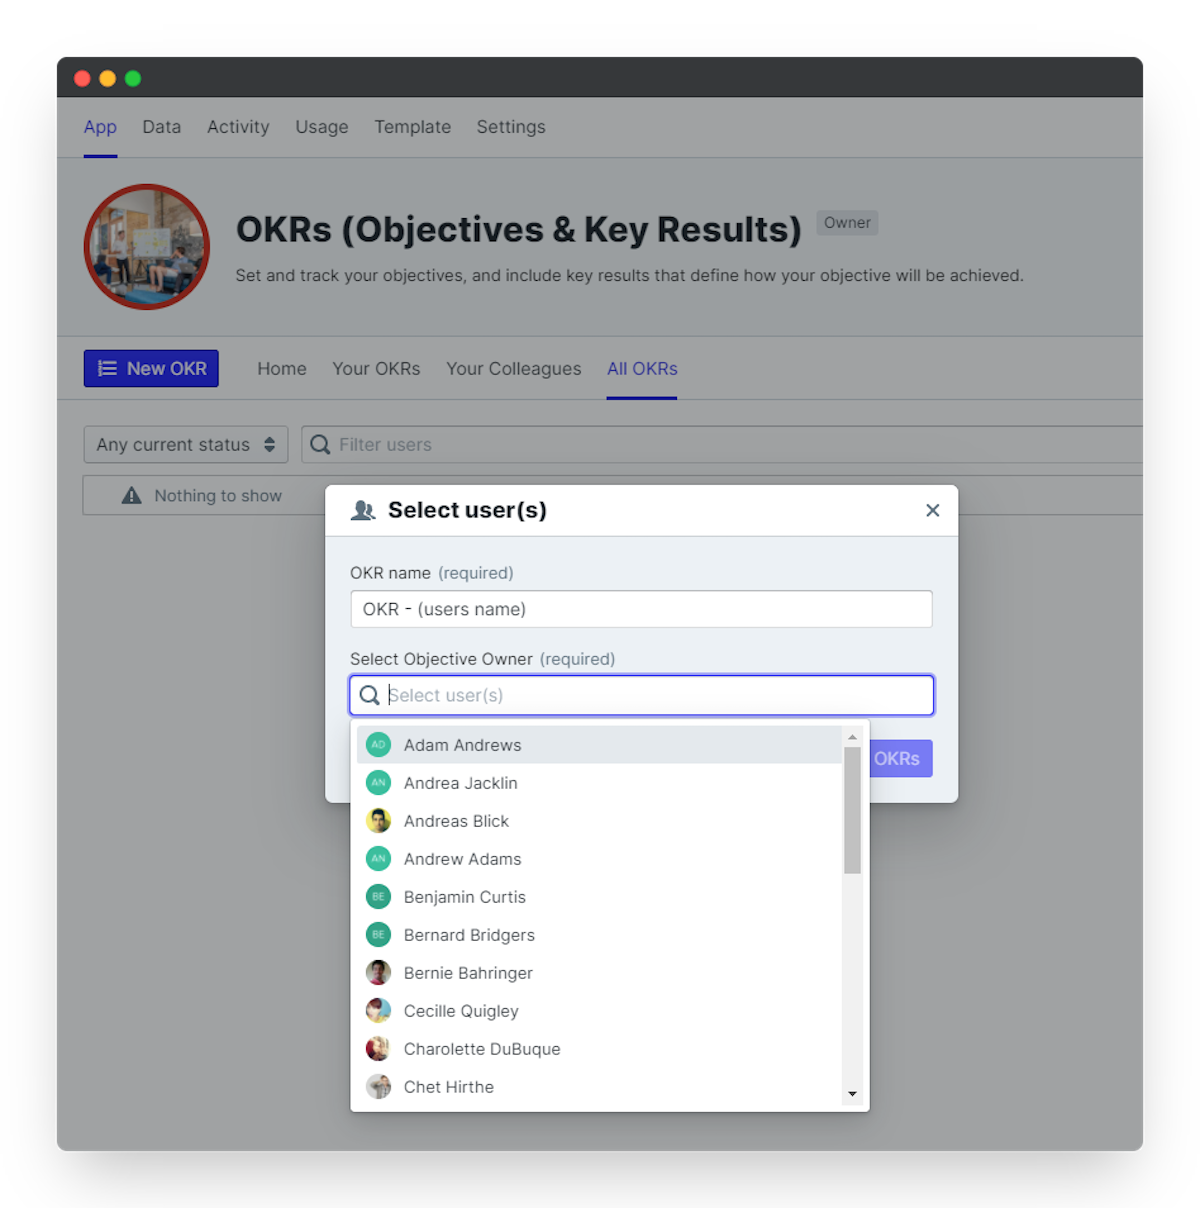
1. Create an item for yourself
You can usually create items for yourself in any app. To do this:
- Click the blue New item button.
- Select New Draft Item and your draft form will pop up with all the details you need to complete.
- You don't have to fill everything out all at once - scroll down to the end of the form and click Save draft to update your changes.
- You'll be taken to the full item view to continue your edits.
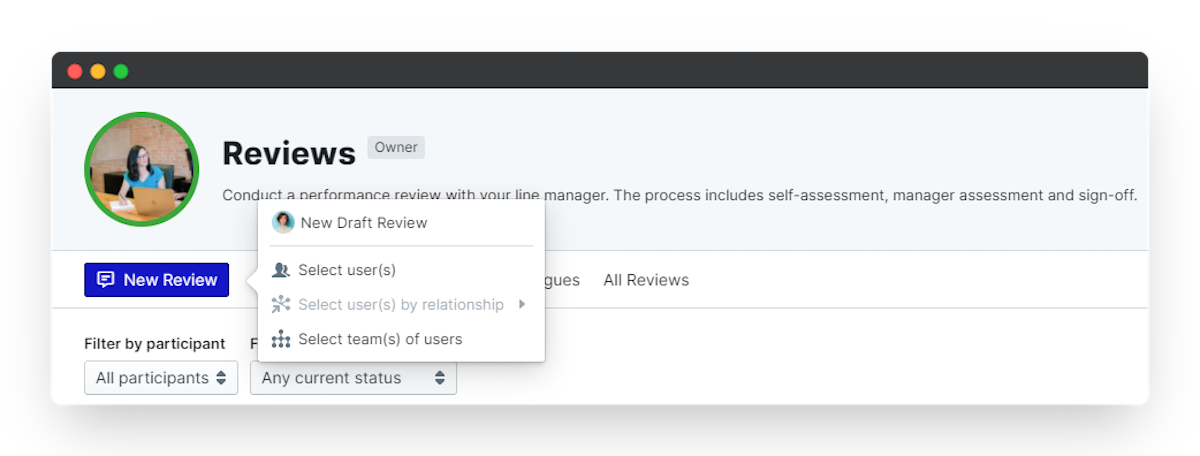
2. Create an item for a direct report
- Click the blue New item button.
- Click Select user(s) by relationship, then select your relationship type.
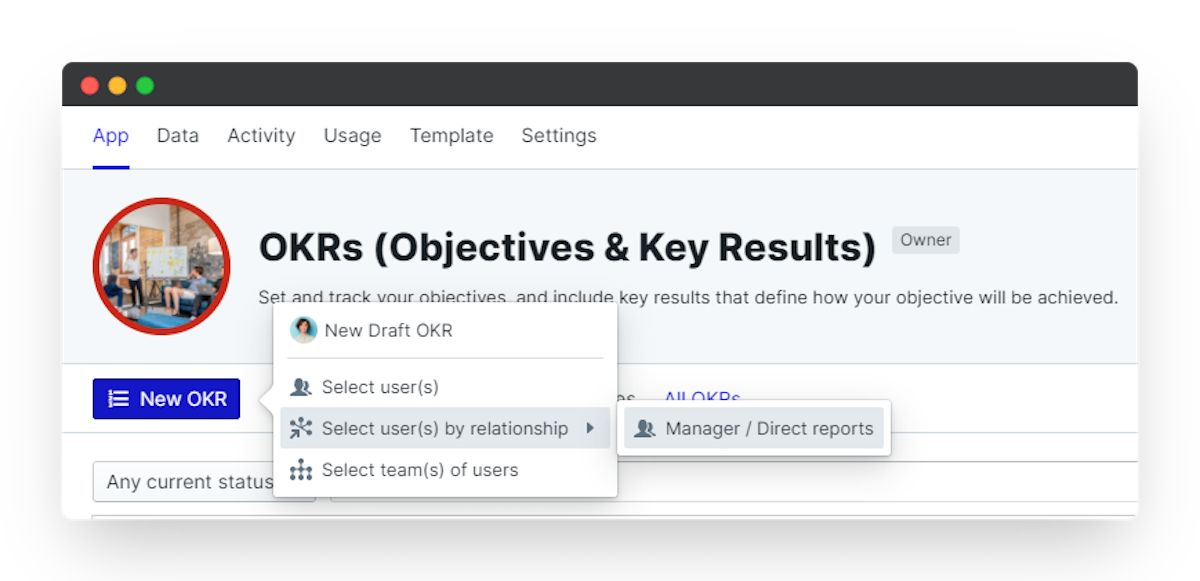
- Choose one or more of your direct reports and click Create item.
- A new item will be created for each user you selected above, and you'll find them in the All Items or Your Colleagues views.
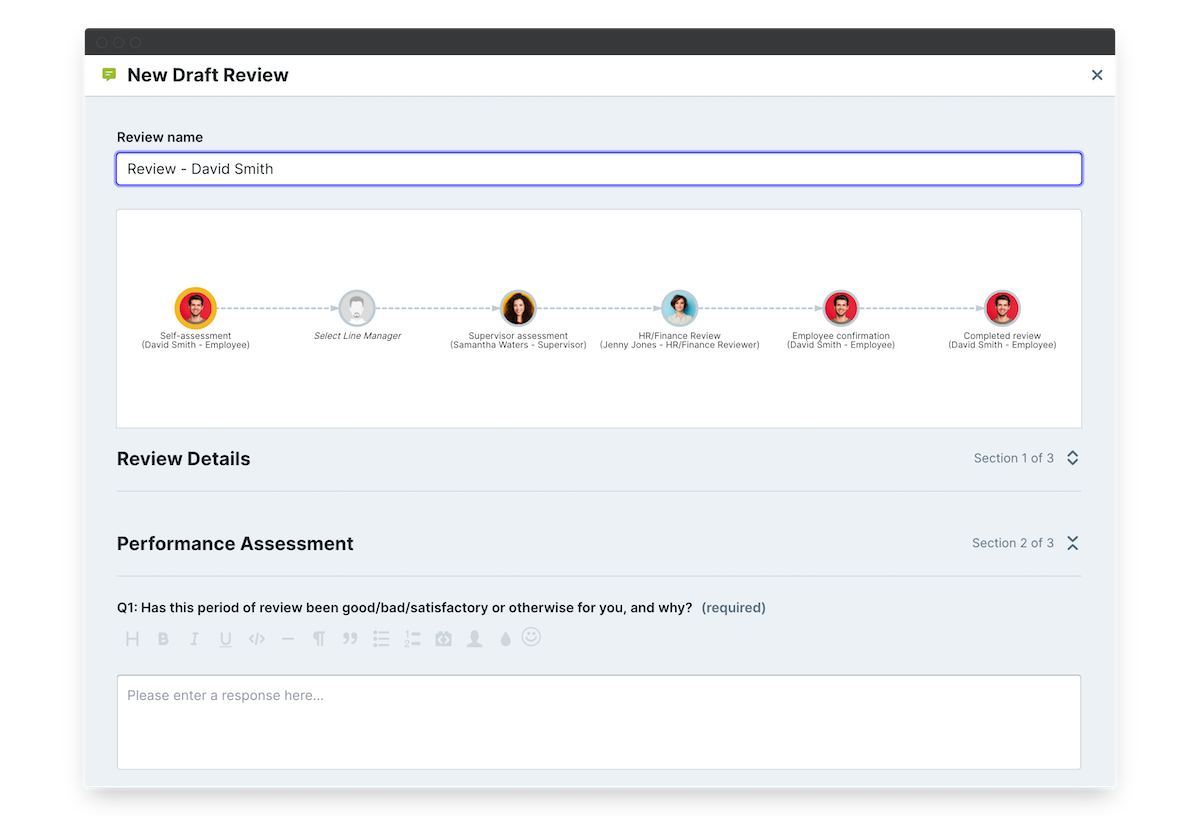
3. Select participants
Most of the time your workflow participants will be pre-populated for you. These participants may include your line manager as an approver, your HR/People Ops Lead as a development coach or even your colleagues as Peer Reviewers. You'll see their names and profile pictures in the workflow view at the top of your item.
In some cases you'll be required to select a participant to own a state. You'll know you need to do that when you see a placeholder image and a note to "Select Participant".
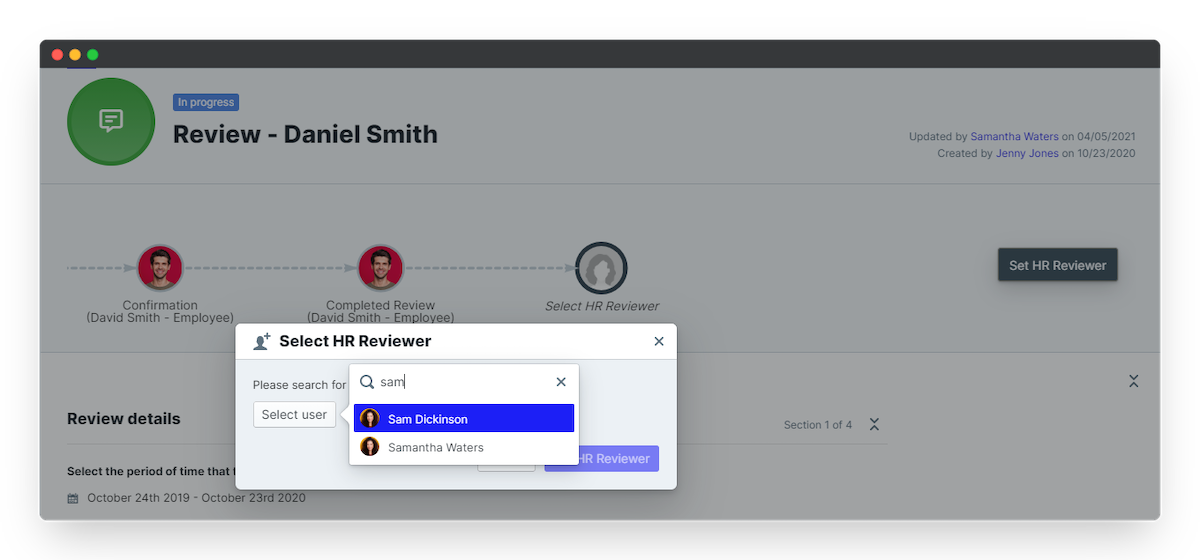
- Click on the participant placeholder, then click Select user.
- Search for any account users in the search bar and click their name to assign them.
- Click the blue Set participant button to save.
4. Save or submit an item
Now you've got your participants all lined up and you've filled out your item in the state you own. You have two options on the form: Save changes or Submit to next state.
- Save changes will save your updates and keep the form in the current state. Do this for ongoing updates, for example to log comments and progress updates on your goals.
- Submit to next state will save your changes and send the form to the next state in the workflow. Only do this when you're ready to send your form on to the next step.
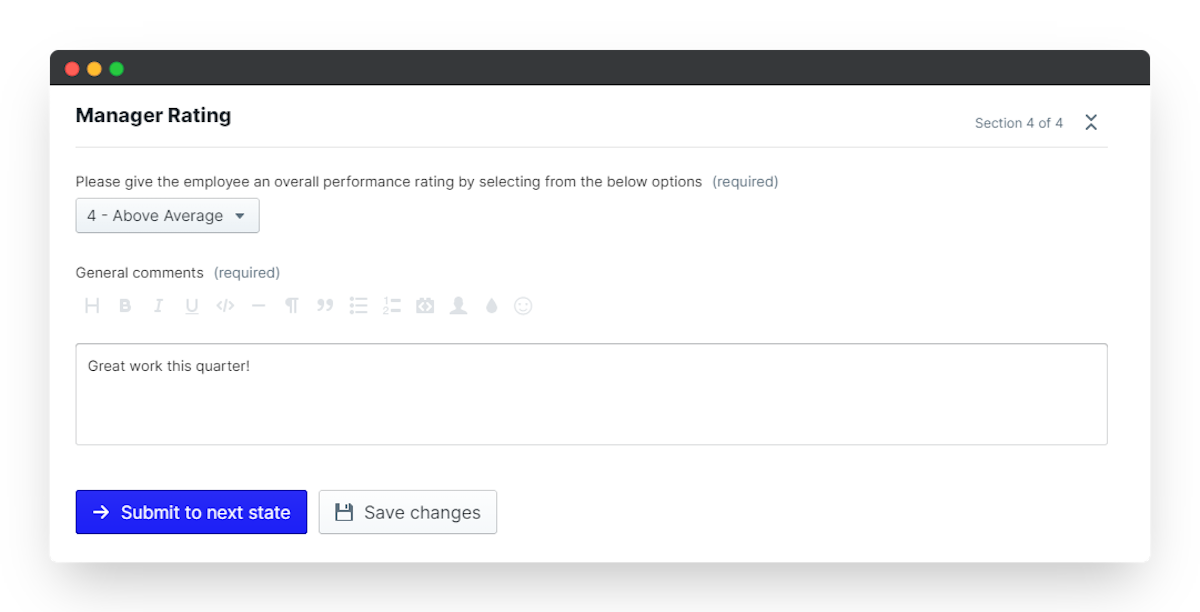
- At the bottom of your form, click the blue Submit to next state button.
- We'll run checks to make sure you've filled out all the required fields. If not, you'll see a red error message. Click this message to jump to the portion of the form you still need to complete.
- Then come back to the end of the form and click Submit to next state.
Your item is now off to its next participant for them to fill out their piece. Most of the time you won't be able to edit your item after you've submitted it, so you can always Save changes instead and return to your draft when you're sure you're ready to submit.
All these actions apply to every single app in your PeopleGoal account. Once you've learned the key actions for one app, you now know them all! Head back to your Dashboard to track your items in progress and complete your Action List.
Now that you've got the basics down you're well on your way to becoming a PeopleGoal expert. If you've still got some burning questions check out our FAQs or our Support Center to learn more.


PeopleGoal Support Team
Account Management & Implementation Specialists


Subscribe to our newsletter
The latest news, articles, and resources, sent to your inbox weekly.
© 2024 PeopleGoal, Inc. All rights reserved.